Here’s an expanded version of your blog post with more detailed explanations, additional content, and improvements for readability:
In this tutorial, we’ll walk you through the process of setting up communication between two machines using the CAN bus protocol. We’ll use a virtual CAN interface, the STM32F4 microcontroller, and Renode for simulation. This guide is ideal for those looking to understand CAN bus communication in an embedded systems environment.
Overview
Controller Area Network (CAN) is a robust vehicle bus standard designed to allow microcontrollers and devices to communicate with each other in applications without a host computer. It is widely used in the automotive industry but also finds applications in various other areas like industrial automation.
In this project, we’ll create a sender and a receiver machine, where the sender transmits a message via the CAN bus, and the receiver prints the received message to the console. We’ll simulate this communication using Renode, an open-source framework that allows us to emulate complex embedded systems.
Prerequisites
Before starting, ensure you have the following tools installed on your system:
- Git: To clone the repository.
- Ceedling: A unit testing framework for C projects, which we’ll use to build the project.
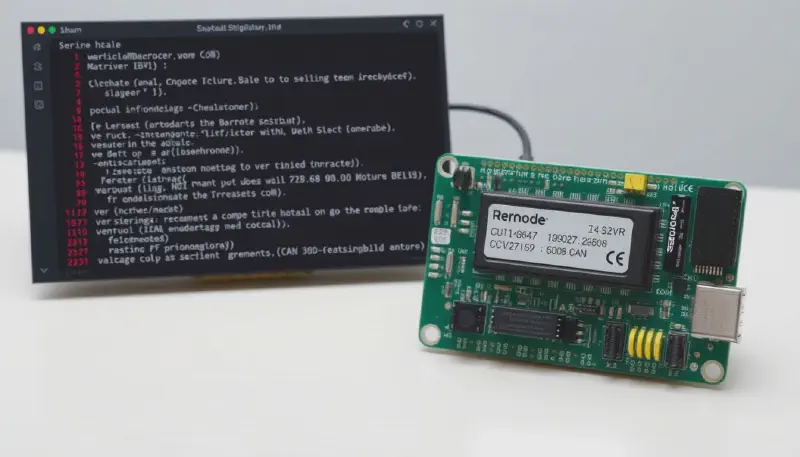
- Renode: A versatile simulation framework for embedded systems.
- SocketCAN: A set of open-source CAN drivers and a networking stack that enables CAN communication in Linux.
Step 1: Clone the GitHub Repository
To get started, clone the GitHub repository that contains the project files:
|
|
This repository contains all the necessary code to set up the CAN bus communication between the sender and receiver.
Step 2: Compile the Project Using Ceedling
Navigate to the project directory and compile the code using Ceedling:
|
|
This command will build the project and generate the binary files required for the simulation. The output binary (stmBase.elf) will be used later in the Renode simulation.
Step 3: Set Up the CAN Interface on Your Machine
Before we can simulate CAN communication, we need to set up a virtual CAN interface on your machine. The virtual CAN (vCAN) interface emulates a CAN network, which is useful for testing and development without physical hardware.
|
|
Explanation:
modprobe vcan: Loads the vCAN kernel module, which creates a virtual CAN interface.ip link add dev vcan0 type vcan: Adds a new network interface of type vCAN namedvcan0.ip link set up vcan0: Activates thevcan0interface.
Now that the virtual CAN interface is set up, we can proceed with the simulation.
Step 4: Create a Renode Description File
Next, we need to create a description file for Renode that defines our simulation environment. This file will set up the emulation environment, initialize the machines, and handle CAN bus messaging hello.resc.
Explanation:
resetMachine: Loads the compiled ELF file and sets the vector table offset.CreateCANHub: Creates a simulated CAN hub that connects the sender and receiver on renode emulation bus.CreateSocketCANBridge: Creates a bridge that forward the CAN packets to the kernel module CAN bus interface.
Step 5: Launch the Simulation
To start the simulation, we need to load the description script into Renode. But first, make sure the project is built:
|
|
Once the build is complete, launch the Renode simulation:
|
|
In the Renode monitor, start the simulation with the following command:
|
|
Step 6: Send a CAN Message
Now that the simulation is running, you can send a message through the CAN interface. Open a terminal and execute the following command:
|
|

Explanation:
cansend: A utility to send CAN messages. The format iscansend <interface> <message_id>#<data>.vcan0: The virtual CAN interface we set up earlier.123#DEADBEEF: A CAN message with ID123and dataDEADBEEF.
If everything is set up correctly, you should see the message in the console output of the receiver machine in Renode.
Conclusion
In this tutorial, we’ve set up a complete CAN bus communication system using virtual interfaces and the Renode simulation framework. This setup allows you to test and develop CAN-based applications without the need for physical hardware, making it a powerful tool for embedded systems developers.
Key Takeaways:
- CAN Bus: A robust communication protocol used widely in automotive and industrial applications.
- Virtual CAN Interface: Allows you to simulate CAN networks on your Linux machine.
- Renode: A powerful tool for simulating complex embedded systems.
Feel free to experiment with the code and explore additional features in Renode. If you have any questions or need further assistance, check out the Renode documentation or open an issue on the GitHub repository.